Ingredients:
-
2 kg of Green Tomatoes
-
2 big Carrots – cut into rounds
-
Celery Root – 2 small ones or a big one
-
Celery Leaves (3-4 branches)
-
Red Cabbage – 1 quarter from a small cabbage
-
1 Sweet Red Pimiento Pepper
-
Cucumbers – 3-4
-
Horseradish – 1 root
-
Garlic – 1 small head or 5 big cloves
For the Brine of pickled green tomatoes :
-
Water – 3 liters
-
Salt – 4 tablespoons
-
Mustard Seeds – 1 teaspoon
-
Pepper Seeds – 1 teaspoon
-
Bay Leaves – 2 leaves
-
Celery – 2 sprigs of root celery
-
Fresh Dill – 1 sprig
You will also need a 5-7 liters jar.
Instructions for preparing Pickled Green Tomatoes:
-
-
-
Wash the green tomatoes and the cucumbers. Wash, peel and cut the carrots into rounds. Clean the garlic and cut the cloves in halves and wash the pepper, slice it’s tail (if it has one…) and cut it / slice it on one side with a knife. Wash and peel the horseradish and then cut it length wise into 4 rods (or in 2 – 3 if your root is too thin). In addition wash, peel and cut into thick slices your celery root. Also wash the cabbage and throw the first 2-3 cabbage leaves (cut them right at the base of the root with a knife and then it should be a lot easier to get rid of them), then cut it in halves and then in quarters, using just 1 quarter for our pickles. The rest of the cabbage can be kept in the fridge and used to make salad in the next 3-4 days.
-
-
-
-
-
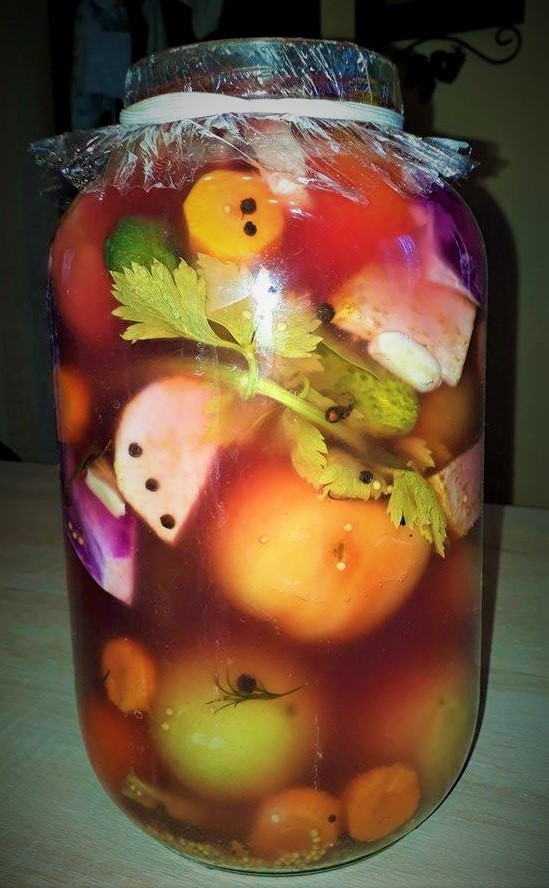
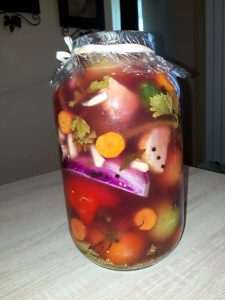
Arrange the vegetables nicely, alternating when you put them in your jar. We are using all of our ingredients besides the horseradish, which we will arrange in the shape of a star / x / cross, on top of our vegetables, right under the mouth of our jar, right under the lid, to prevent the vegetables from rising above the brine. If they rise above the water level, the ones that do so, will get ruined. They get really soft and have to be discarded. The ones underneath will still be good to eat. But you can’t use the ones on top as a lid so that the ones from the bottom stay well submerged in the liquid… If you do so, you risk that all of your pickles get ruined and you might end up throwing them all. If it happens to you and one of the ones you have on top gets ruined, just throw it away and that’s that.
-
-
-
-
-
The bay leaves and the pepper and the mustard seeds (the spices), go above the horseradish.
-
-
The Brine for Pickled Green Tomatoes:
-
-
-
Put all of the ingredients for the brine in a big pot and bring them to a boil. After it simmers for a few minutes, turn out the fire and let your brine aside.
-
-
-
-
-
After 10 minutes in which we’ve left our brine to rest, we lay our jar with green tomatoes on a metal tray or above two long knives arranged in the shape of an x / cross on the table, in a place from which we will not move it in the next 48 hours. This trick with a metal tray or the long knives arranged in x / cross, is to prevent the glass of our jar to crack in contact with the hot / boiling liquid of the brine. After pouring the liquid and after the jar is warm / hot. You can discard the knives / tray at any time…
-
-
-
-
-
Then, with the help of a ladle, you pour your brine into the jar, until the vegetables are covered about 1 inch with the liquid. If there is any leftover brine, you need to keep it because you might need it later.
-
-
-
-
-
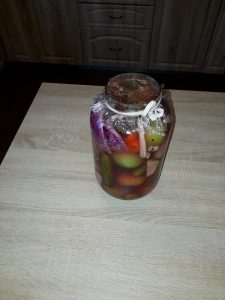
Now you need to leave your jar opened in the kitchen for 48 hours, to help the tomatoes begin the fermenting process before you put the lid on. After the 48 hours, we check them to see if we need to add more of the brine and if there is space we do it. After this, we put the lid on our jar and if you happen to own just the jar and no lid, you can easily replace the lid with a double layer of cellophane foil and tie it with an elastic band (or even an old pair of silk stockings – you need something elastic that will prevent the air from penetrating). We don’t advise you to use rope because there is the risk of the air going in. But in the end, if you are strong enough and you are sure that you will manage to make a tight bow (not a knot, because you will wish to open and tie it back up many times from the moment you start eating your pickles…), you can try the rope as well… It’s up to you!
-
-
-
-
-
Once you sealed your jar, you have to move it into a cold room or in your basement.
-
-
-
-
-
After approximately one month, your pickles are ready!
-
-
Prep time: 2h
Total time for preparing Pickled Green Tomatoes: 1 month
Notes:
-
This recipe can be used to pickle cucumbers as well and the ingredients are just a little bit different. The ingredients can change according to the quantity of vegetables that you wish to pickle and the jars you own…
-
In addition, you can adjust this recipe according to the quantity of pickles you want to have. You can add more or less pickles…
-
Furthermore, if you take some pickles out of the jar and you don’t eat them all on that occasion, and you wish to save them for the next or following days, you can do so. Don’t put them back in the jar. They will last in the fridge for up to 5 days – 1 week, in a bowl covered tightly with plastic foil.
Tip: If you want you pickles to be spicy, all you have to do is to add 2-3 green fresh chilies in the jar!
If you liked the recipe give us a like, share and follow us on Facebook where you can find us under the name “Magliano’s Comfort Food”.
Enjoy! 🙂
I have noticed you don’t monetize your website, don’t waste your traffic, you can earn extra
cash every month because you’ve got high quality content.
If you want to know how to make extra money, search for: Boorfe’s tips best adsense alternative